Deep scratches on a stainless steel sink are usually caused by heavy cookware, sharp tools, or prolonged use of abrasive cleaning pads. Unlike light surface scuffs, deep scratches cut into the surface grain and are more visible under light. While stainless steel is highly durable, restoring a deeply scratched area requires careful technique to avoid creating uneven texture or thinning the metal. In many cases, deep scratches can be reduced significantly and blended into the surrounding finish, even if complete removal is not always possible.
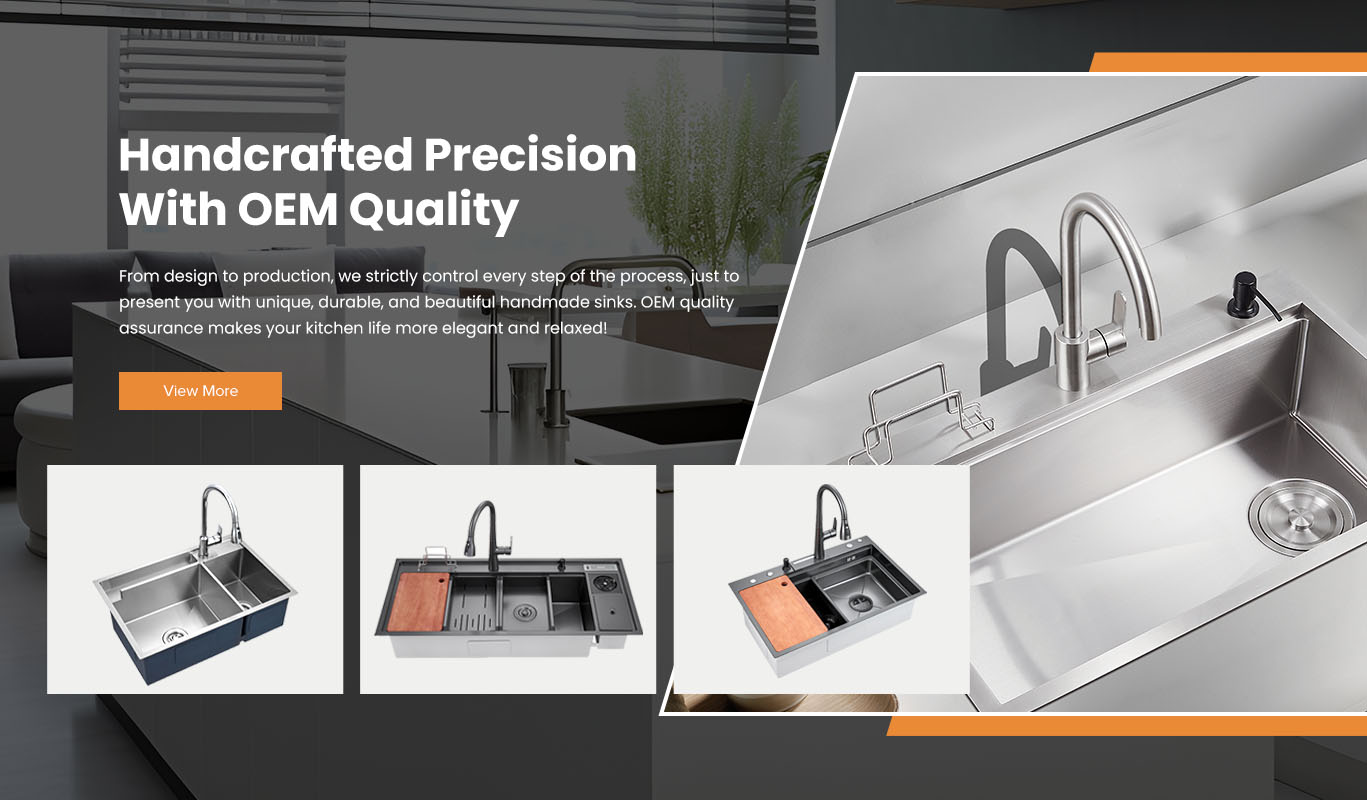
From a manufacturing and surface-engineering perspective, stainless steel sinks are finished with controlled grain patterns to balance durability and maintainability. Shunhan Sink, as a manufacturer specializing in stainless steel kitchen sinks, produces sinks with consistent material thickness and refined surface finishing that allow scratch reduction and surface blending when correct restoration methods are used.
Before starting, it is important to confirm the scratch depth.
Light scratches sit on the surface finish and reflect light unevenly
Deep scratches can be felt with a fingernail
Very deep gouges may affect metal thickness and cannot be fully removed
Most household scratches fall between moderate and deep and can be visually improved with proper technique.
Stainless steel sinks always have a visible grain direction created during manufacturing.
Scratch repair must follow the original grain
Working across the grain creates visible swirl marks
Grain alignment determines the final visual quality
Correct grain orientation is the most critical factor in deep scratch repair.
Proper preparation prevents embedding debris during polishing.
Wash the sink with mild detergent
Remove grease, residue, and mineral film
Rinse thoroughly and dry completely
Inspect scratches under strong, direct lighting
A clean surface ensures accurate scratch assessment.
For deep scratches, gradual surface leveling is required.
Use a fine stainless-steel-safe abrasive pad or polishing material
Work strictly along the grain direction
Apply light to moderate, even pressure
Focus on the scratched line without widening the area excessively
This step slowly reduces the depth contrast between the scratch and surrounding surface.
After initial reduction:
Extend polishing slightly beyond the scratch
Maintain the same grain direction
Reduce pressure gradually as the scratch fades
Blending prevents visible repair patches and uneven reflection.
Once the scratch is reduced:
Switch to a finer polishing compound suitable for stainless steel
Polish along the grain using smooth, even strokes
Focus on restoring uniform texture rather than eliminating the scratch completely
At this stage, the scratch should appear significantly lighter and less noticeable.
Final finishing improves appearance.
Wipe away polishing residue
Buff with a clean microfiber cloth
Follow the grain direction consistently
Inspect the area from multiple angles
Buffing restores brightness and helps mask remaining depth variation.
Not all deep scratches can be completely removed.
Very deep gouges may remain faintly visible
Over-polishing can thin the metal surface
Excessive abrasion can create low spots
The goal is visual blending and surface consistency, not aggressive material removal.
Sanding or polishing across the grain
Applying heavy pressure in one spot
Using coarse abrasives too aggressively
Attempting to remove scratches too quickly
Ignoring blending with surrounding areas
These mistakes often make scratches more noticeable rather than less.
Preventive habits reduce long-term surface damage.
Avoid dropping heavy cookware into the sink
Do not drag metal objects across the surface
Use sink grids or protective mats
Avoid abrasive cleaning tools
Daily care plays a major role in maintaining surface integrity.
From a manufacturing standpoint, scratch repair success depends on surface consistency.
high-quality stainless steel sinks provide:
Uniform grain structure
Consistent material thickness
Smooth transitions at corners and seams
Better response to polishing and blending
Shunhan Sink manufactures stainless steel sinks using controlled forming and precision surface-finishing processes to support effective scratch reduction and long-term appearance maintenance when correct restoration methods are applied.
Removing deep scratches from a stainless steel sink involves careful grain-aligned abrasion, gradual blending, surface refinement, and controlled buffing. While deep scratches may not disappear entirely, their visibility can be greatly reduced when treated correctly.
Stainless steel sinks engineered with consistent materials and refined surface finishes—such as those produced by Shunhan Sink—retain their durability and visual quality best when deep scratch repair and daily maintenance follow proper, surface-safe professional practices.
Previous: